Pages

Showing posts with label learning activity. Show all posts

Wednesday, January 15, 2014

Easy Preschool Alphabet Activity

When I stopped teaching a little over seven months ago, I couldn't bear to throw anything away that could potentially be useful in the future.  (Come to think of it, this is true in all areas of life for me...a problem, you might say...)

The bad news?  The storage area of our basement is completely taken over by boxes upon boxes representing my seven years in the classroom.  (Sorry, Aug...)  :(

The good news?  Anytime I want to do an art project or learning activity with Jonathan, I just go shopping...in my basement :)

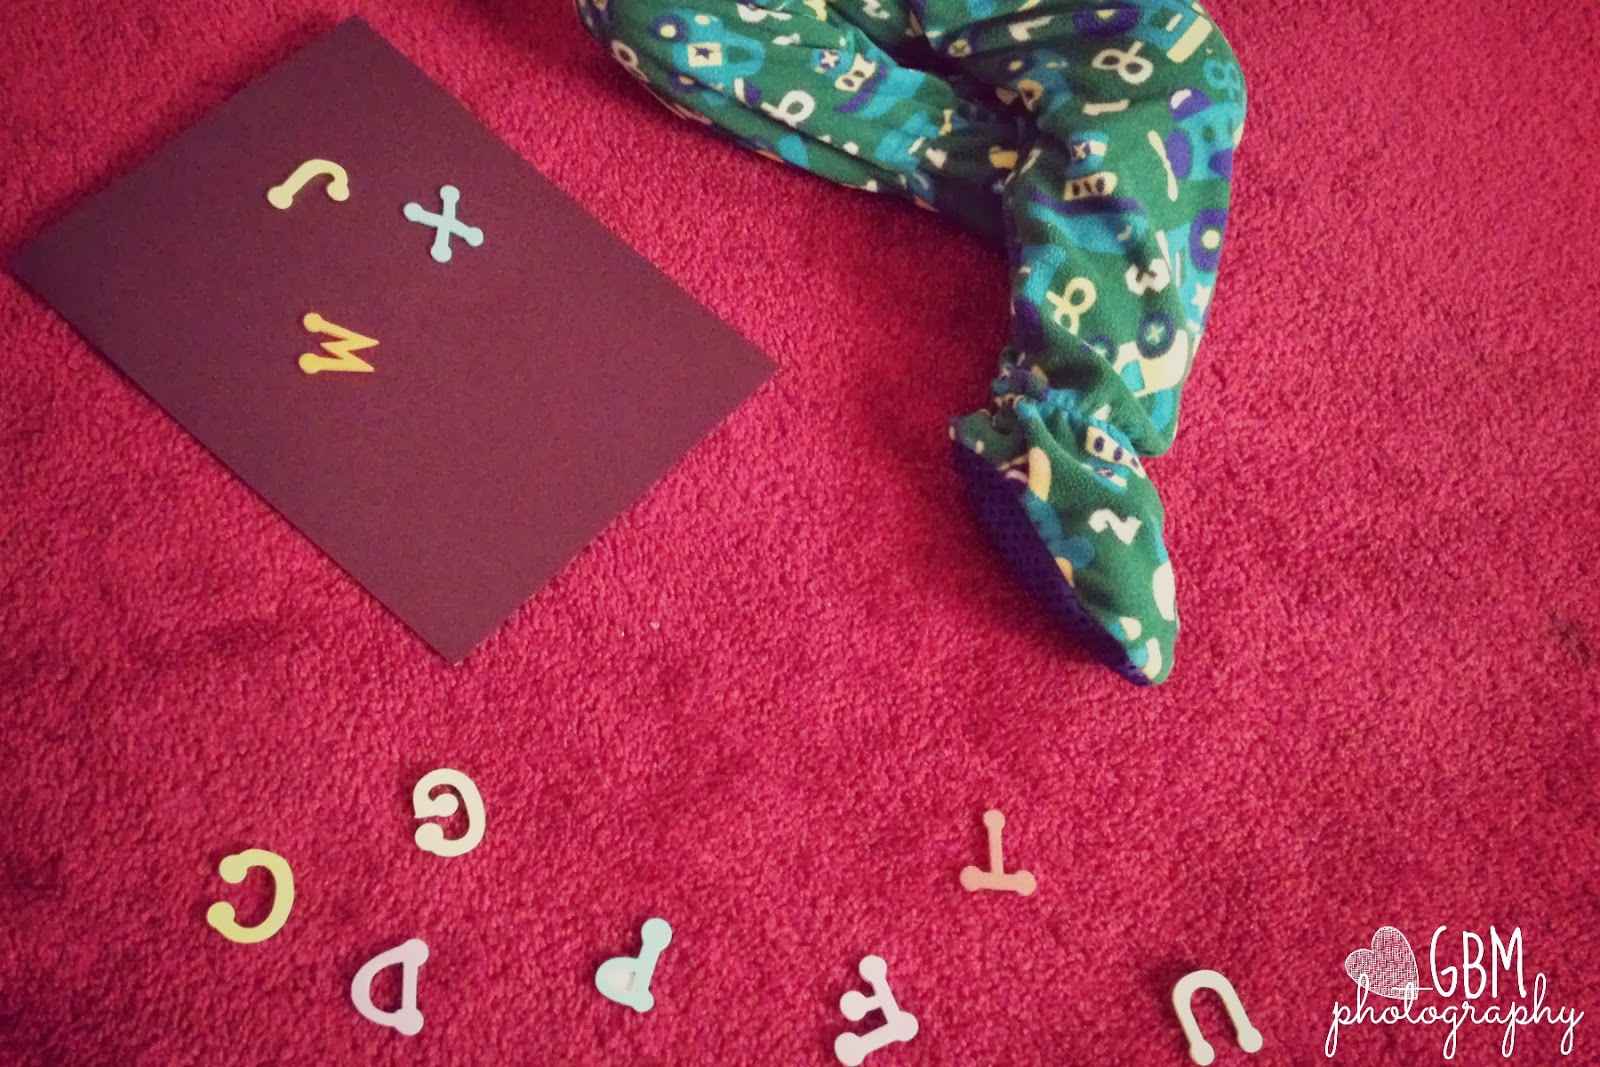
Today's activity came from a nearly-discarded box of foam alphabet stickers.


I had used these babies to label several items in my classroom and had been caught in a sad dilemma because all or most of the most common letters were used up, but couldn't bring myself to pitch the rest of the perfectly useful stickers.


Enter the boy.  He actually dug this box up in the basement and trotted it over to me one morning this week.  It suddenly hit me that it didn't matter that some letters were missing - it was the perfect, hands-on activity for him to practice his letter recognition!

I selected different uppercase letters and spread them out on the floor and handed him a piece of black construction paper (just for the nice contrast).

Before he picked up a letter to stick onto the sheet, I asked him to tell me the name and color of the letter.  Then, for kicks, I asked him what sound each letter makes.  (He actually learned all of the letters sounds before learning the letters names from watching Leapfrog: Letter Factory, which I highly recommend for introducing letter sounds!)


Peeling off the back of the sticker was a bit of a challenge, but he remained focused and determined to do it.  Some of them were a little tricky, so I gave him a little head start.


He then slapped the letter stickers on any which way he pleased.  In the future, I might draw lines on the paper and have him stick them onto the line so they face the same direction.  Since it was the first time we did it, though, I just wanted him to be free and have fun :)

The finished product!


Hamming it up
Since then, he has requested to "do letters" again several times.  I think we can call it a success! :)


Side note: the box of foam letters came also with lowercase letters.  Since he is still learning his lowercase letters, I waited till after he finished his project to pull some out to show him.


Hehe can you guess what he thought these were? (answers in the caption)

(The "v" was a "heart"...and the "j" he called a "saxophone"!) hahaa
I guess we know what to work on next! :)

-----

And, just because most of my recent posts have been very Jonathan-heavy...

Here is a gratuitous shot of our little gal who has been chomping down finger foods and army-crawling all over the house.


Have a great week!

Sunday, December 8, 2013

On-the-Go Fun for Toddlers


When you have an energetic toddler and errands to run, being armed with fun activities becomes pretty important for keeping your sanity :)

Unfortunately, not every place with a line has a fish tank to keep the kiddos entertained while you wait...
Often, my go-to items are obvious:

1. Ball
2. Books
3. Crayons and paper
4. Toy cars

I'm not sure if this is a no-brainer for other moms out there, but in the recent months, I've also made sure to pack along something else:

Yup. Dot stickers!  306 stickers for 1-2 bucks?  Yes, please :)

These little babies, I've found, are perfect for two year olds' small fingers.

They lift up from the sticker sheet easily, they're relatively large, and they're bright and colorful!
They also have the perfect level of stickiness - enough to stick without immediately falling off, yet not so annoyingly sticky that they are impossible to remove!

As an added bonus, they add practically no bulk to the diaper bag you might be lugging around, which is always a huge plus for me!

Playing with stickers is a great way to develop those fine motor skills!

While waiting at the doctor's office, we stick them all over the exam table paper (it gets pitched after we leave anyway).

We make it a learning activity by counting all the stickers.  Then we identify the different colors and count how many we have of each color.  We also use this opportunity to discuss shapes and identify circles in the world around us.


This is a page from my journal that I quickly made to keep Jonathan occupied during a youth event at church a few months ago.  The goal was for him to place a dot sticker over every circle he saw on the page.


You could probably have a whole sheet of pictures prepared ahead of time, but I had him identify each picture and add a sticker immediately after I drew each picture (to help keep him engaged and focused).

I love these stickers!  When I taught first grade and kindergarten, I always kept them on hand to quickly label things or color code books.

Ironically, I don't think I've ever used them for their advertised purpose (garage sale labels)...but they sure are perfect for entertaining a toddler on-the-go! :)

Tuesday, October 1, 2013

Name Recognition Caterpillars


My son, Jonathan, is 2 years old (26 months, to be exact).  Since his second birthday, he's been pretty interested in learning the alphabet and playing with puzzles.  I decided to combine the two activities to introduce name recognition.

I found this idea from Pinterest (scroll down to "#6 Bottle Cap Names") and thought that milk caps were more age-appropriate for my little guy's toddler hands.  I also thought it might be helpful to trace circles to help him place and match the milk caps to the letters.

He loves The Very Hungry Caterpillar by Eric Carle, so on a whim, I turned them into caterpillars.  


Want to make your own?  Here's what I did.

Materials Needed:
bottle caps* (one for each letter in the child's name)
paper
permanent marker 
markers
laminator
laminating sheet
scissors or cutting tool
clear tape

*Use caution with the size of bottle caps you choose, especially if your child likes to put things in his/her mouth.

1.  Trace (clean) milk caps to make caterpillars.  The caterpillars will vary in length depending on the number of letters in each name.  Since I had a couple yellow caps, I decided to make the capital letters a different color.  I used Sharpies to trace, but realized later than it would have been simpler and clean-looking to use regular markers.


3.  Fill in the circles with the child's name.  Again, plain markers will do just fine.  Since Jonathan's name has 8 letters, I cut the rows of circles into two paper strips and taped them together to make an extra-long caterpillar.  (I also made one for his BFF, Micah.)


4.  Use a permanent marker to label the milk caps with corresponding letters.  I prefer to write on the insides of the milk caps so they are less likely to rub off with use.


5.  Laminate the sheet of paper.  This step is optional, but preferred (since little hands will be playing with it).  Use scissors or a cutting tool to trim edges.  If you are making a long name out of 2 strips of paper, tape them together carefully.


6.  Guide your toddler through the activity.  


You can point and name each letter, discuss the difference between upper case and lower case letters, and count the number of milk caps.


Since he's two, I just let him focus on matching the caps to the circles.  For kids who are a bit older, you could ask them to place the caps in order, and maybe even have them practice writing their names afterwards.


(You might also consider underlining the letters so your child doesn't get confused between letters like "n" and "u" or "d" and "p"...)
"Does my name have a 'u' in it?"


Can you tell he enjoyed it?


His favorite part?  Shaking off all the caps once he was finished!


This activity is pretty adaptable. I think it could be easily used in the classroom (especially for centers) to teach and reinforce sight words!